

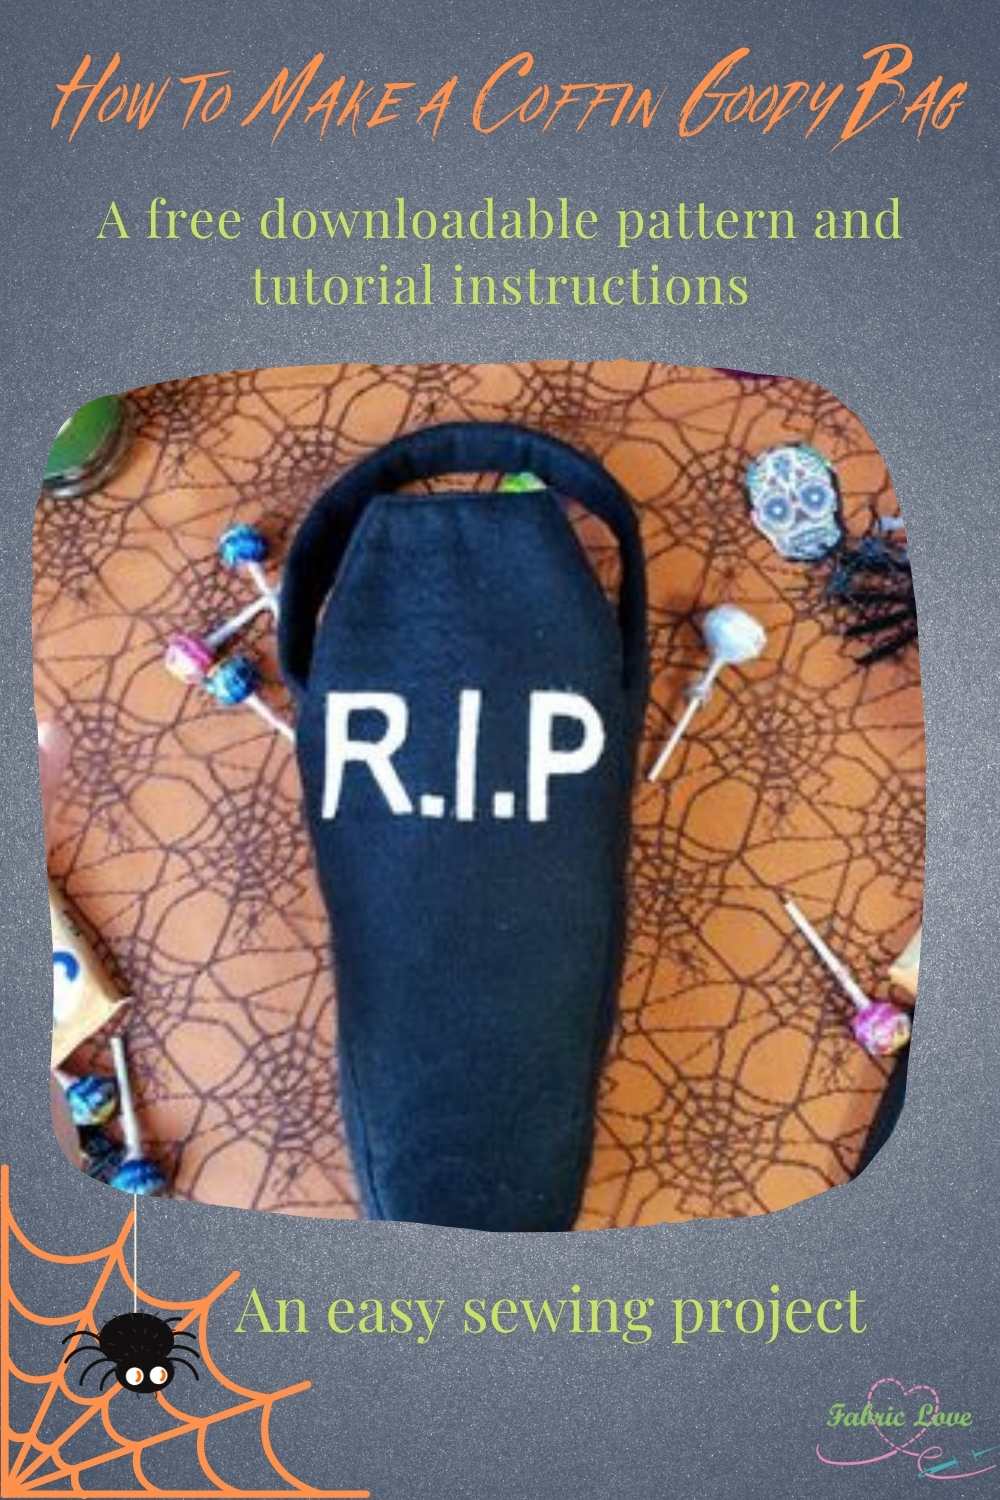
How to Make A Spooky Coffin Goody Bag
Project Level: Easy

Trick or Treat!!!!
As Halloween approaches what could be more perfect for your little Ghoul, Vampire or Witch?
This coffin shaped goody bag is original, easy to make and will hold lots of goodies!
The dimensions are H.27 cm, D 5cm
This can be made with a fat quarter. I made it with black felt, polycotton and heat & bond to give it structure.
Are you ready to impress and scare your friends and neighbours?
You Will Need
- Half a metre of black acrylic felt
- A small piece of white acrylic felt
- Corresponding colour thread
- Sewing machine
- Hot glue gun or fabric glue
- Sharp scissors
Instructions
Download the PDF pattern. Print the pattern ensuring you do not check the box on the print dialogue that says "Scale to Fit" or "Fit to Page" and check that the test box has printed at the correct size of 5cm.
Step 1
Cut out the shapes on all layers of fabric.
Following the instructions, iron the Heat and Bond onto the wrong side of the front, back, sides and base of the outside pieces.
Step 2
Pin the outside pieces together, right side to right side.
Start with the base, pin a side piece to it and stitch. Repeat for the other side.
Stitch the front of the bag to the base of the coffin. Starting from the bottom corner, sew to the top corner. Repeat for the other side.
Repeat for the back panel.

Step 3
Mitre the corner seams on the bag. This means trimming the corners to reduce the bulk on the seams.
Turn your bag the right way round and gently push out all of the seams. You can use a bodkin, the wrong end of a pencil or a piece of doweling.
Please try not to use scissors, you might undo your beautiful handiwork.
Press the sides firmly to give your seams a sharp edge.

Step 4.
Repeat step one to construct the bag lining leaving one side seam open. (This will enable you to turn your bag the right way round).
How to Make a Handle
Step 5.
Fold the fabric in half lengthways and press.
Open the fabric and place 2cms of heat and bond down the length of the bag handle, next to the centre crease.
I used off cuts to do this.
Fold the fabric in half lengthways again and press to ensure that the heat and bond attaches to the fabric.
You should have a 5mm gap between the edge of the heat and bond and the edge of the fabric. Fold this edge in and press.
Turn your handle the other way up and using the pressed side as a guide fold the outside edge in to match it. Press.
Using your sewing machine, stitch along the open edge close to the folds. Press again.
I know, you might think I have a thing for irons. I don't. I loathe ironing but sewing and pressing go hand in hand. It gives your projects a sharp, professional finish and bonds the stitching to the fabric.
Step 6.
Pin the handle to each side of the bag and stitch closely to the top.
This will hold the handle in place.

Step 7.
Pull the lining up over the outside of the bag, right side to right side, (the wrong side of the lining should be facing up).
Stitch along the top of the bag 5-10mm from the edge.
Pull the main body of the bag through the gap in the lining and hem it.
Push the lining into the bottom of the bag.

Step 8.
Using your thumb and forefinger, roll the inside of the top lining down into the body of the bag.
Do this all the way around the opening.
Pin the lining and top stitch close to the edge.
Step 9.
Finally, cut the letters out and using your fabric glue, stick them onto the front of the bag.
I used a ruler to ensure that the letters were straight.
So thats it... all ready for Halloween! Have you got your route planned for maximum sweetie haul?

Related Tutorials
How to Make A Spooky Coffin Goody Bag
This coffin shaped goody bag is original, easy to make and will hold lots of goodies!

Reversible Lantern Shaped Lunch Bag
This lantern shaped lunch bag has lots of space inside, it is semi structured, machine washable and reversible! The box and knife pleats create a beautiful shape. The finished bag is 15cms deep and at it's widest point has a circumference of 84cms. What's not to like?

How to Make Trousers Easily - No pattern required!
Fancy whipping up a new pair of trousers in an afternoon? This tutorial shows how to make your own pattern for palazzo pants or harem pants super quick and just as easy!
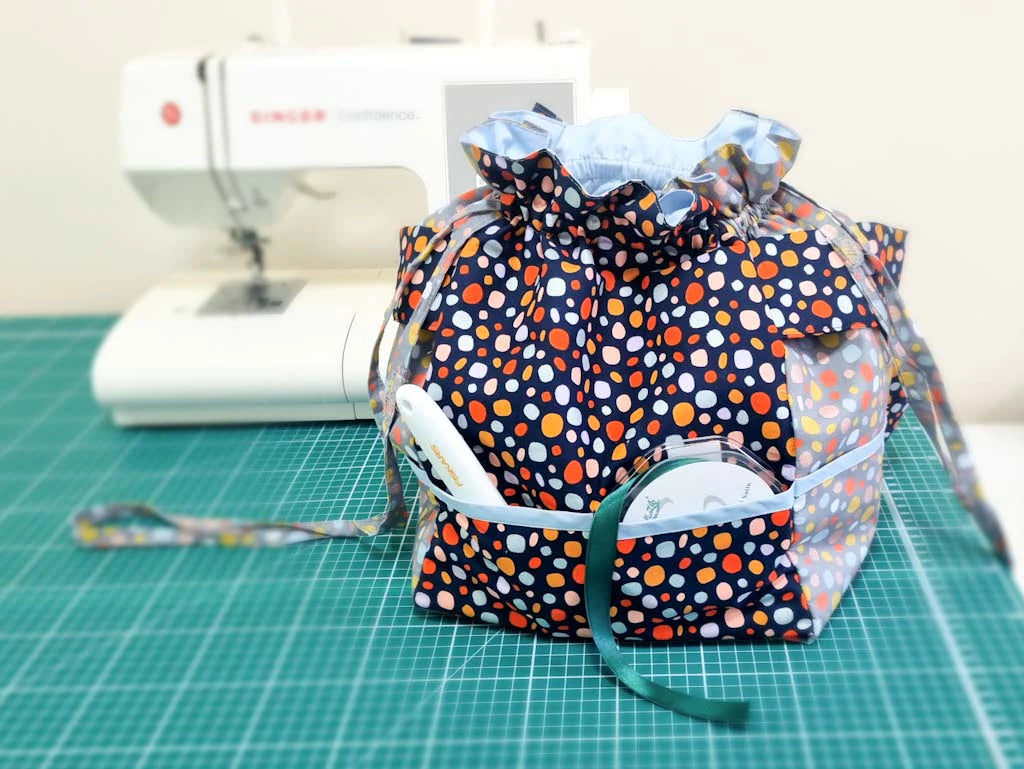
How to Make a Pocket Crazy Craft Bag!
A Pocket Crazy Craft Bag... with how many pockets? As many as you like! I managed to make twenty-six of them in various sizes.This is perfect for crafters on the go! It's a standing joke in my family that I can't go anywhere without a crochet hook, several balls of wool, a sewing project and a notebook to write down the creative ideas that explode in my head!What can I say? I'm a crazy lady with crazy ideas and I love pockets in bags!This is a cubed bag that measures 36x49cms, it has a double drawstring closure, two handles and it can be worn over the shoulder. It has been interfaced with Heat & Bond to give it structure and it has a big space in the middle for your latest creation in progress.The pockets are various sizes to hold everything from scissors to bodkins, patterns to pins and the occasional bar of chocolate...you know, for emergencies...Ready?