

How to Make a Pocket Crazy Craft Bag!

A pocket crazy craft bag... with how many pockets? As many as you like! I managed to make twenty-six of them in various sizes.
This is perfect for crafters on the go! It's a standing joke in my family that I can't go anywhere without a crochet hook, several balls of wool, a sewing project and a notebook to write down the creative ideas that explode in my head!
What can I say? I'm a crazy lady with crazy ideas and I love pockets in bags!
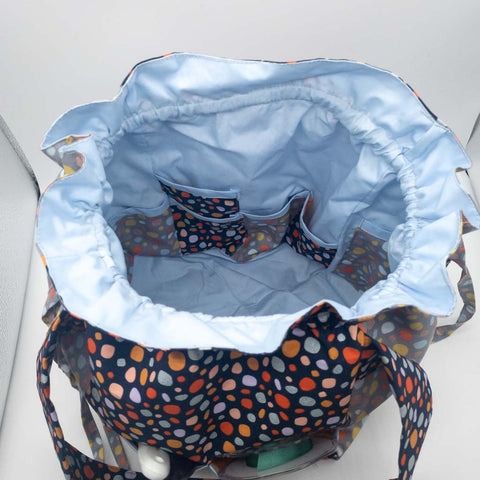
This is a cubed bag that measures 36x49cms, it has a double drawstring closure, two handles and it can be worn over the shoulder. It has been interfaced with Heat & Bond fusible fleece to give it structure and it has a big space in the middle for your latest creation in progress.
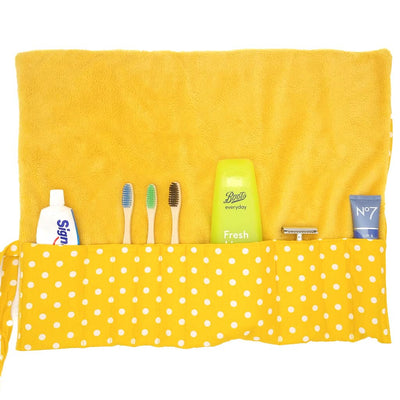
The pockets are various sizes to hold everything from scissors to bodkins, patterns to pins and the occasional bar of chocolate...you know, for emergencies...
Ready?
You Will Need:
- Outer Fabric - 110cm/43" wide - 1.5m/59"/ 150cm/59" wide - 1m
- Lining Fabric - 110cm/43" wide - 75cms/29"/ 150cm/59" wide - 50cms
- Heat & Bond 50x160cms
- 25mm bias binding or ribbon - 3m
- Sewing machine
- Iron & an ironing board
- Sharp scissors, pins, corresponding coloured thread
Instructions
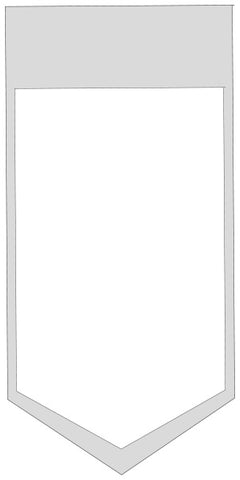
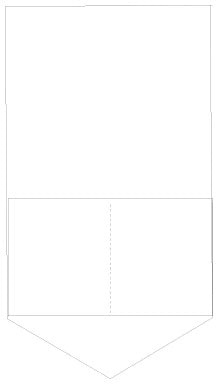
Download the PDF pattern. Print the pattern ensuring you do not check the box on the print dialogue that says "Scale to Fit" or "Fit to Page" and check that the test box has printed at the correct size of 5cm.
Step 1: Bag Body
Cut the outer fabric and following the instructions, apply the heat & bond to the wrong side of the fabric, this will give the bag structure. The Heat & Bond does not extend the edge of the fabric as this would increase the bulk in the seams and no-one like a bulky seam.
Repeat for the three remaining outer panels.
Step 2: Lined Front Pockets
The outside pockets are lined with
Cut the outer fabric and lining for the pockets and place them right side to right side. Stitch along the bottom edge, press the seam open.

Step 3
Fold
Pin the two sides together and attach the bias binding along the raw edge on the inside of the pocket. Fold the bias binding over the raw edge and stitch on the outside of the pocket.

Step 4.
Lay the handle right side down so the wrong side is facing up. Fold in half lengthways, press and open. This will leave a line down the centre of the fabric.
Following the instructions on the Heat & Bond, iron it onto one side on the inside of the handle.
Fold a 10cm seam allowance on the long edges and press.
Fold the handle in half lengthways and press.
Top stitch along the open edge and press.
Check out our quick tutorial on how to make bag handles!

Step 5: Bag Assembly
Lay the pockets onto the right side of the bag 11cms above the bottom point of the bag. Pin in place.
Measure half way along the pocket and pin/mark vertically.
Stitch along the centre line. This will create two pockets. Repeat for the other three panels.
You do not need to sew the sides of the pockets as these will be sewn in the next step.
Step 6.
Using your PDF pattern piece as a guide, mark the channel for the drawstring closure and place the strap on the outside of the bag, pin in place.
Lay the outer layer on top, right side to right side, your strap should lay in between the two layers. Align the top and bottom of the bag ensuring that the bias binding on the pockets line up.
Pin in place leaving the closure channel open and stitch down the left side all the way to the point. Use Back Stitch to reinforce the openings.
This seam will stitch the pockets and the strap in place.
Repeat for the remaining two panels and strap.

Your bag should now look like this!

Step 7.
Pin the loose end of the strap to the right side of the bag ensuring it is straight.
Repeat for the other section.
Lay the second half of the bag over the top. Pin & Stitch all the way around the edge, trapping the pocket sides and the handles in between the two layers. Don't forget to leave a channel for the drawstring!
Step 8.
Follow steps 2 & 3 to make the inside pockets for your bag.
You can line the pockets if you want to, I didn't but I finished the top edges with bias binding.
Below are some suggested pocket placements... challenge! how many pockets can you get in a craft bag?
Pin the pockets to the lining as you did in steps 5 & 6 and stitch the lining panels together as you did for the outside of your bag.
Don't forget to leave the closure channels open! Press the seams out.

Step 9
When you have competed your pocket frenzy, take the outside of your bag and the lining, fold and press the top down 1cm.
Place the bag lining into the outer bag taking care to align the closure channel. Pin and top stitch on the outside of the fabric to make your channel.
Top stitch the tops of the bags together. Press.

Step 10
You are nearly there!
Using ribbon (or you can make your own drawstring) and a 1970's nappy pin, a bodkin or a safety pin, carefully thread your draw string through the channel, right to left and left to right on opposite sides giving you a double closure.
You should have four openings so if your pin or bodkin isn't behaving you won't have to start all over again.
There! Doesn't your bag look amazing?
How many pockets did you squeeze in and what are going to put in them?
2 comments

More tutorials you might like...
View all


Yes it will, you will need to stick the pattern pieces together. Print the pattern ensuring you do not check the box on the print dialogue that says “Scale to Fit” or “Fit to Page” and check that the test box has printed at the correct size of 5cm.
Hi all…
If I print this off on my home computer which has only A4 paper will it work ..!
Leave a comment